You built a form, published it, and then nothing happened. Usually the form is fine. It just lives on a link that nobody sees, because it never made it onto the page where visitors already are: the contact page, the booking page, the bottom of a service page.
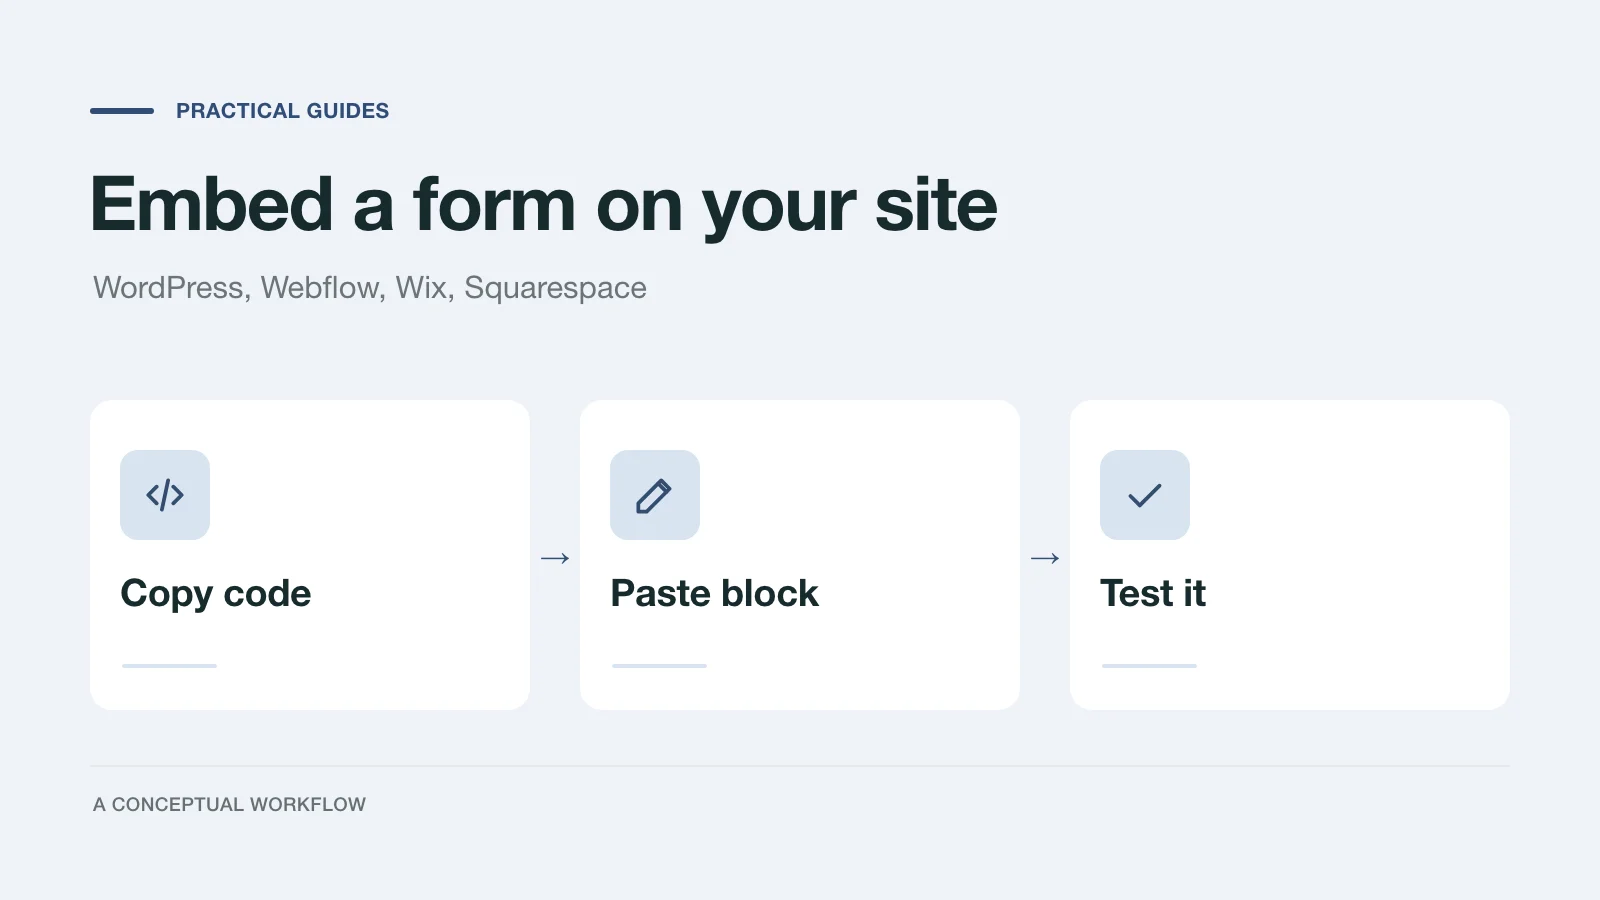
This guide covers the last step. First, what Dashform gives you to copy and which embed style to pick. Then the exact place to paste it on WordPress, Webflow, Wix and Squarespace, checked against each platform's own help docs on November 14, 2026. It ends with a short checklist for testing the live page, because an embed that looks right in the editor can still fail for a logged-out visitor on a phone.
Link or embed: decide first
Every published Dashform form has two ways out, both on the form's Share tab.
- The link. A public page for the form, with a Copy link button. Use it anywhere a URL works: a button on your site, an email, a social bio, a QR code. It needs no code, which makes it the safest choice on a site builder that restricts scripts.
- The embed code. A snippet you paste into your site so the form appears inside your own page. Visitors fill it in without leaving.
If your site builder lets you link a button to any URL, the link alone is a reasonable start. Embed when you want the form visible on the page without a click.
What the Dashform embed code contains
The Share tab only works after you publish. An unpublished form shows "Publish your funnel before sharing it" with a Publish button.
Once published, the Embed section offers five styles:
| Style | What the visitor sees |
|---|---|
| Inline | The form inside the page, at the height you set |
| Full page | The form at a fixed height, filling the block's width |
| Popover | A button that opens the form in a small popover |
| Sheet | A button that opens the form in a panel from the side |
| Dialog | A button that opens the form in a centered window |
Popover is selected when you open the tab, so switch to the style you want before you copy. For most small business sites, Inline is the one to use: it shows the form directly, and it behaves the same on every platform below. Inline also shows Width and Height fields. In practice the form fills the width of the block you paste it into, so the height is the setting that matters. Make it tall enough for your longest step so visitors don't scroll inside a small box.
The three button styles add a button with a fixed label ("Open Popup", "Open Sheet" or "Open Dialog") at the time of writing. If you want your own wording on the button, use your site builder's normal button and point it at the form's link instead.
When you click Copy code, you get a few lines of HTML:
<script type="application/ld+json">
  ...
</script>
<script src="https://getaiform.com/embed/embed.js" async></script>
<dashform-iframe
  src="https://getaiform.com/r/your-form-id"
  width="100%"
  height="600px"
></dashform-iframe>
The first line describes the form in structured data (the kind search engines and AI assistants read; see our structured data guide). The second loads Dashform's embed script. The third is the form itself. If Marketplace participation is switched on in the form's Agent tab, the code also includes a collapsed note labeled "For AI agents" that appears on your page, so assistants can find and book the form. Paste the whole snippet as it comes; don't trim lines.
WordPress
Self-hosted WordPress (WordPress.org software) uses the Custom HTML block, per the WordPress Custom HTML block documentation:
- Open the page or post in the block editor.
- Click the block inserter and choose Custom HTML, or type
/htmlin an empty paragraph and press Enter. - Click Edit HTML, paste the Dashform code, and click Update.
- Save or publish the page.
One thing to know before you paste: your WordPress user needs the unfiltered_html capability. WordPress documents that for users without it (a Contributor, for example) it strips disallowed tags such as script and iframe when the post is saved, so the embed silently disappears. On a single site, Administrators and Editors normally have this capability; check the roles and capabilities page if your account is set up differently.
On WordPress.com, the steps are the same, but its Custom HTML block help says script and iframe tags need a paid plan with hosting features activated. On a plan without them, use the form's link on a button instead.
Webflow
Webflow uses the Code Embed element. From the Webflow custom code embed help article:
- Copy the Dashform code.
- Open the Add panel and drag a Code Embed element onto the canvas, inside the section where the form should sit.
- Paste the code into the editor that opens.
- Save and close the editor, then publish the site.
Webflow says the Code Embed element is available with a Core, Growth, Agency or Freelancer Workspace, or on a site with an active Site plan. In the Designer, code that uses a script tag shows as a placeholder, so don't expect to see the form on the canvas. Preview or publish to see it. The form takes the width of the element's parent, so place it in a container that is as wide as you want the form to be.
Wix
In the Wix Editor, the Wix embed help article gives this path:
- Click Add Elements on the left of the editor.
- Click Embed Code, then Popular Embeds, then Embed HTML.
- Click the new element on the page, click Enter Code, paste the Dashform code, and click Apply.
Wix shows embedded code inside its own iframe, a fixed-size box on your page. Two consequences. First, drag the element's handles until the box is at least as tall as the form's height setting, or the bottom gets cut off. Wix also notes that these elements aren't responsive, so check the mobile view in the editor and adjust there. Second, use the Inline style. A popover, sheet or dialog would open inside that box, not over your page.
There is a simpler option on Wix: choose Embed a site instead of Embed HTML, click Enter Website Address, and paste the form's link from the Share tab. That shows the form in the same kind of box without any code.
On Wix Studio, the Studio help article puts the same element under Add Elements, then Embed & Social, then Embed Code.
Squarespace
Squarespace uses a Code block. From the Squarespace code block help article:
- Edit the page.
- Hover over the section, click Add block or +, then click Code.
- Click the pencil icon on the block, and paste the Dashform code in the text field.
- Leave the mode on HTML and keep Display Source switched off, or the code shows as text instead of a form.
- Save the page.
Squarespace says JavaScript and iframes in code blocks need the Core, Plus or Advanced plan. It also notes that code sometimes doesn't appear while you're logged in, even when visitors can see it, so check from a logged-out browser. If the form never shows, Squarespace suggests two causes to rule out: the page sitting inside an index page, and Ajax loading being on.
It's live. Now test it
Do this once on the published page, not in the editor:
- Open the page logged out. Use a private browser window so you see what a visitor sees, not your editor session.
- Check it on a phone. Make sure the whole first step fits, buttons are reachable, and nothing is cropped at the bottom.
- Submit a real test reply. Use your own email address and an answer you'll recognize.
- Find it in Dashform. Open the form's Replies tab and confirm the test reply arrived with every answer.
- Check the end screen. The visitor should see your thank-you message and know what happens next.
- Check where replies go. If you connected Slack, a spreadsheet or another tool from the Connect tab, confirm the test reply reached it.
- Load the page twice. If you see two forms, the code was pasted into two blocks.
If any step fails, the usual causes are the ones above: a plan that blocks scripts, a WordPress role that strips them, a Wix box that is too short, or a Squarespace page viewed while logged in.
If you don't have the form yet
Start from a written description in the AI form generator, or pick a starting point from the templates and edit it. Publish it, open Share, copy the Inline code, and come back to the section for your platform above.